Table of Contents
ToggleHow to Create a Video in Using Videogen Ai Tool
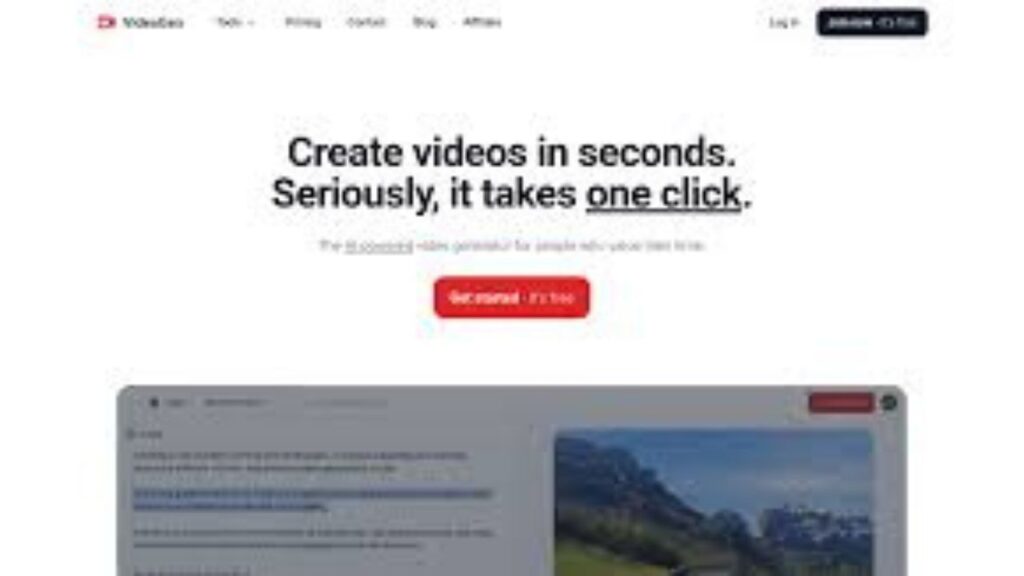
How to create a video in using videogen ai tool. Videogen ai tool is an ai tool for video creation, with its help you can create videos not in minutes but in hundreds, this is going to prove to be a boon for those people who are afraid of facing the camera or do not want to show their face in the camera.
Using this tool is also very easy, just enter the script here, in a few seconds this tool will give you according to your script. We will know in the video how Videogen works, we will know about it in full detail in this blog, stay with us till the end.
What is Videogen Ai Tool?
VideoGen AI is an advanced video creation tool designed to simplify and enhance the process of producing professional-quality videos. Utilizing artificial intelligence, VideoGen AI offers a range of customizable templates for various purposes, such as promotional content, educational videos, and social media posts.
Users can easily input their own text, images, and video clips, and the AI seamlessly integrates these elements into a polished final product. The tool also provides options for adding music, voiceovers, and animations, allowing for a high degree of personalization.
With its user-friendly interface and robust feature set, VideoGen AI empowers individuals and businesses to create engaging and visually appealing videos without the need for extensive technical skills or experience.
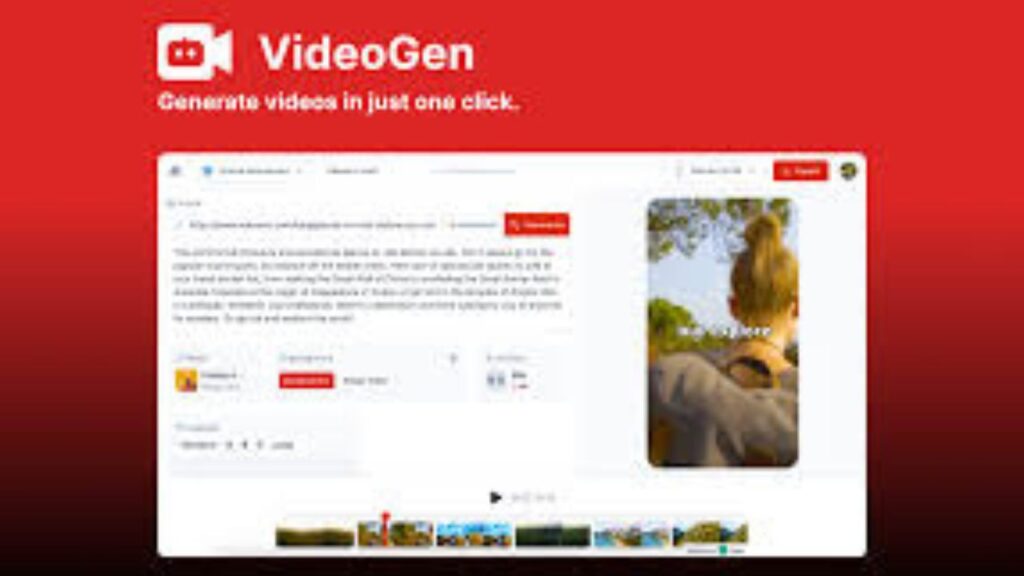
How to Create a Video in Using Videogen Ai Tool
Creating a video using the VideoGen AI tool involves a few steps. Here’s a general guide on how to get started. Stay with us till the end.
1. Sign Up/Log In
Signing up or logging in to VideoGen AI is a straightforward process designed to get you started quickly. To begin, visit the VideoGen AI website and locate the sign-up or log-in option, typically found in the upper right corner of the homepage.
If you are a new user, click on the “Sign Up” button to create an account. You will be prompted to enter your email address, create a password, and provide any additional necessary information. Some platforms may also offer the option to sign up using social media accounts like Google or Facebook for added convenience.
For returning users, click on the “Log In” button and enter your credentials to access your account. Once logged in, you will have full access to all the features and tools VideoGen AI offers, enabling you to start creating your video projects right away.

2. Select a Template
Selecting a template in VideoGen AI is a crucial step in the video creation process, designed to streamline your workflow and ensure a professional result.
After logging in, navigate to the template library, where you will find a wide variety of options tailored to different video types and purposes, such as promotional videos, tutorials, social media content, and more.
Browse through the templates, which are typically categorized by themes or industries, and choose one that best fits your project’s goals and aesthetic. Each template comes with pre-designed elements like text, graphics, transitions, and animations that you can easily customize to match your brand or personal style.
By selecting a template, you lay a solid foundation for your video, making the subsequent steps of content input, design customization, and editing more efficient and cohesive.

3. Input Your Content
Inputting your content in VideoGen AI is a seamless process that allows you to personalize your video with your unique message and media. Once you have selected a template, you will be guided to a content editor where you can begin adding your specific information.
Start by entering your text, such as titles, descriptions, and any other relevant captions, directly into the designated fields within the template. Next, upload your images and video clips by either dragging and dropping them into the editor or using the upload function.
VideoGen AI typically supports various file formats, making it easy to incorporate different types of media. You can also adjust the placement, size, and appearance of these elements to ensure they fit perfectly within the template’s structure. This step is crucial as it transforms the generic template into a personalized video that communicates your specific message effectively.
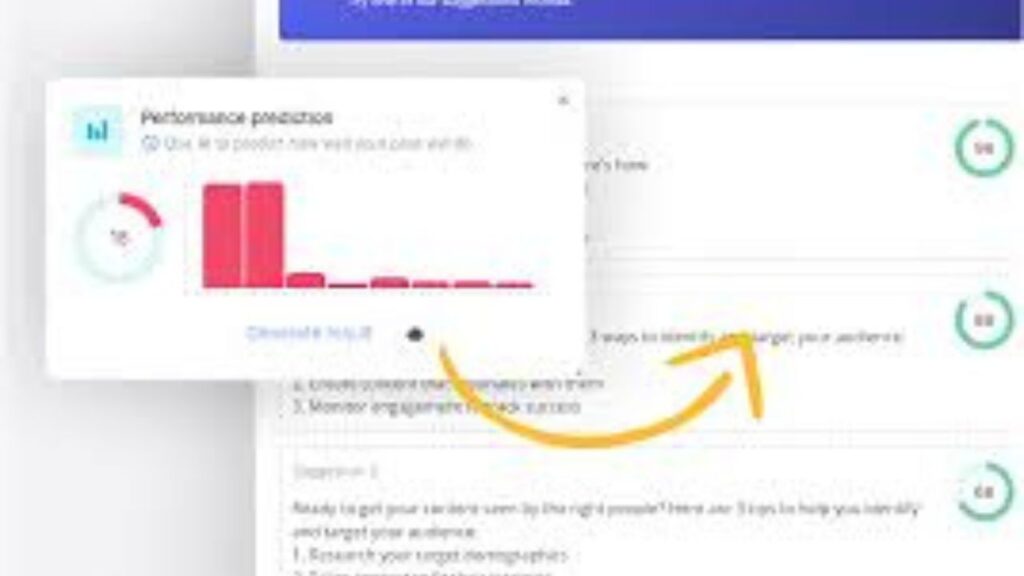
4. Customize the Design
Customizing the design in VideoGen AI allows you to tailor the look and feel of your video to perfectly align with your brand or personal style. After inputting your content, you can adjust various design elements to create a cohesive and visually appealing video.
Start by selecting your preferred color scheme, ensuring it matches your brand identity or the theme of your video. You can also choose fonts that reflect the tone and personality of your message. The layout can be modified by repositioning text, images, and video clips to create a balanced and engaging composition.
VideoGen AI offers options to add or adjust animations, transitions, and effects to enhance the visual appeal and flow of your video. By meticulously customizing these design aspects, you ensure that your final video is not only professional and polished but also uniquely yours.
5. Add Music and Voiceover
Adding music and voiceover to your video in VideoGen AI elevates the overall production quality and helps convey your message more effectively. Once you have customized the design, navigate to the audio section of the editor.
Here, you can choose from a library of pre-licensed music tracks that suit various moods and themes, or you can upload your own music file. Select a track that complements the tone of your video and adjust the volume to ensure it doesn’t overpower the spoken content.
If your video requires narration, you can easily add a voiceover by recording directly within the platform or uploading a pre-recorded audio file. The voiceover can be synchronized with the visuals, ensuring that the timing of your narration matches the flow of the video.
Fine-tuning the audio levels and placement of the music and voiceover ensures that they blend seamlessly, providing a professional and engaging auditory experience for your audience.
Read Also -: Does Digital Marketing work for all Businesses
6. Preview and Edit
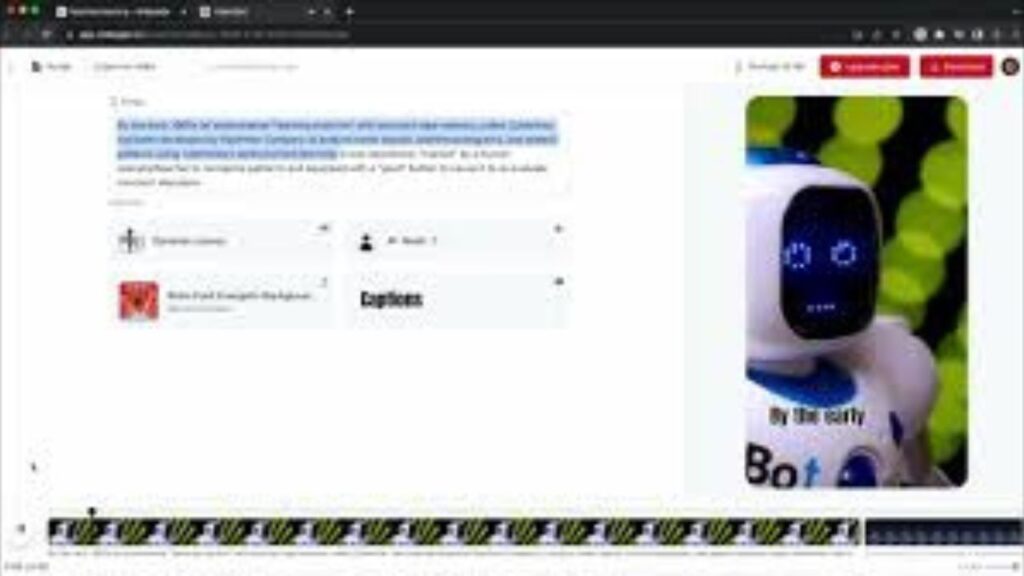
Previewing and editing your video in VideoGen AI is an essential step to ensure that your final product is polished and meets your expectations. After adding your content and customizing the design, click on the preview option to watch a draft version of your video.
This allows you to see how all the elements—text, images, animations, music, and voiceover—come together. As you watch the preview, take note of any areas that need adjustment, such as timing, transitions, or audio levels. VideoGen AI provides an intuitive editing interface where you can make these refinements easily.
You can trim clips, rearrange scenes, tweak animations, and adjust audio settings to perfect your video. This iterative process of previewing and editing ensures that your video flows smoothly and looks professional. Once you are satisfied with the final preview, you can proceed to generate and download your video, confident that it meets your vision and objectives.
7. Generate and Download
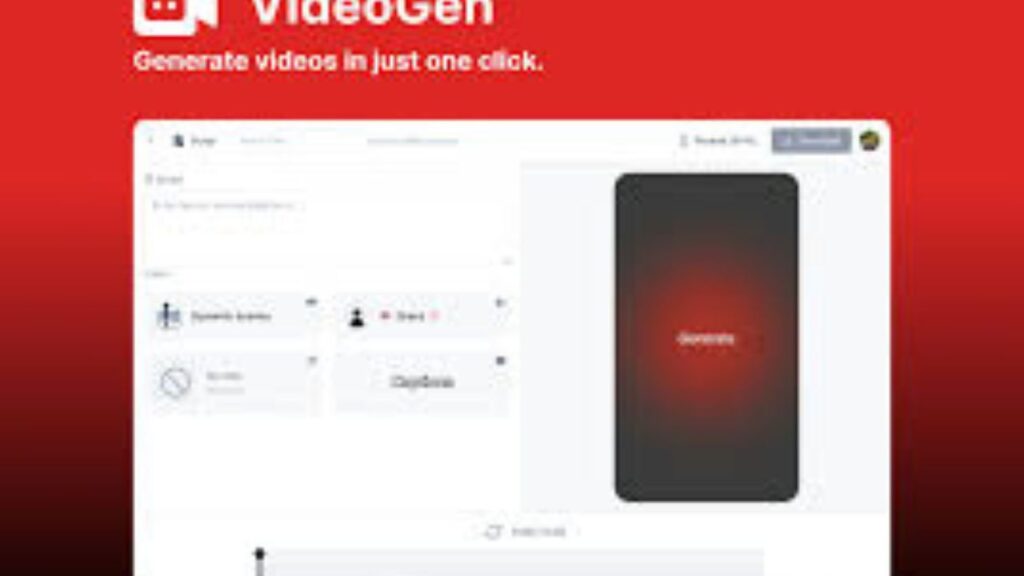
Generating and downloading your video in VideoGen AI is the final step in bringing your project to fruition. After meticulously previewing and editing your video to ensure all elements are in place and polished, navigate to the export section of the platform.
Here, you will find options to generate the final version of your video. Depending on your needs, you can select different resolution and quality settings to optimize the video for various platforms, such as social media, websites, or presentations.
Once you have selected your desired settings, click the “Generate” button to initiate the rendering process. VideoGen AI will compile all the elements into a cohesive, high-quality video file. After the rendering is complete, you can download the video directly to your computer or device.
This file is now ready for distribution, allowing you to share your professionally crafted video with your intended audience through multiple channels, ensuring maximum reach and impact.
8. Share Your Video
Sharing your video created with VideoGen AI is the exciting final step that allows you to showcase your work to your audience.
Once you have generated and downloaded your video, you have several options for distribution. You can upload the video directly to social media platforms like YouTube, Facebook, Instagram, and LinkedIn to reach a broad audience. Many platforms allow for easy uploading and have built-in tools to optimize your video for their specific requirements.
Read Also -: How to write a blog for a website in 2024

Conclusion
VideoGen AI offers a powerful and user-friendly solution for creating high-quality videos with ease. From selecting templates to customizing designs, adding music and voiceovers, and finally sharing your finished video, the platform provides intuitive tools that streamline the entire production process.
Whether you’re a marketer, educator, or content creator, VideoGen AI empowers you to craft engaging videos that captivate audiences and effectively communicate your message.
By leveraging its features, you can enhance your digital presence, promote your brand, and engage with your audience across various platforms. With VideoGen AI, creating professional videos has never been more accessible or impactful.
If you also want to know and learn AI tools and digital marketing in more detail, then hello my name is Rozy, I teach marketing in Hindi and in easy language. If you also want to learn digital marketing and AI tools, then click on the button below and register for my webinar.
